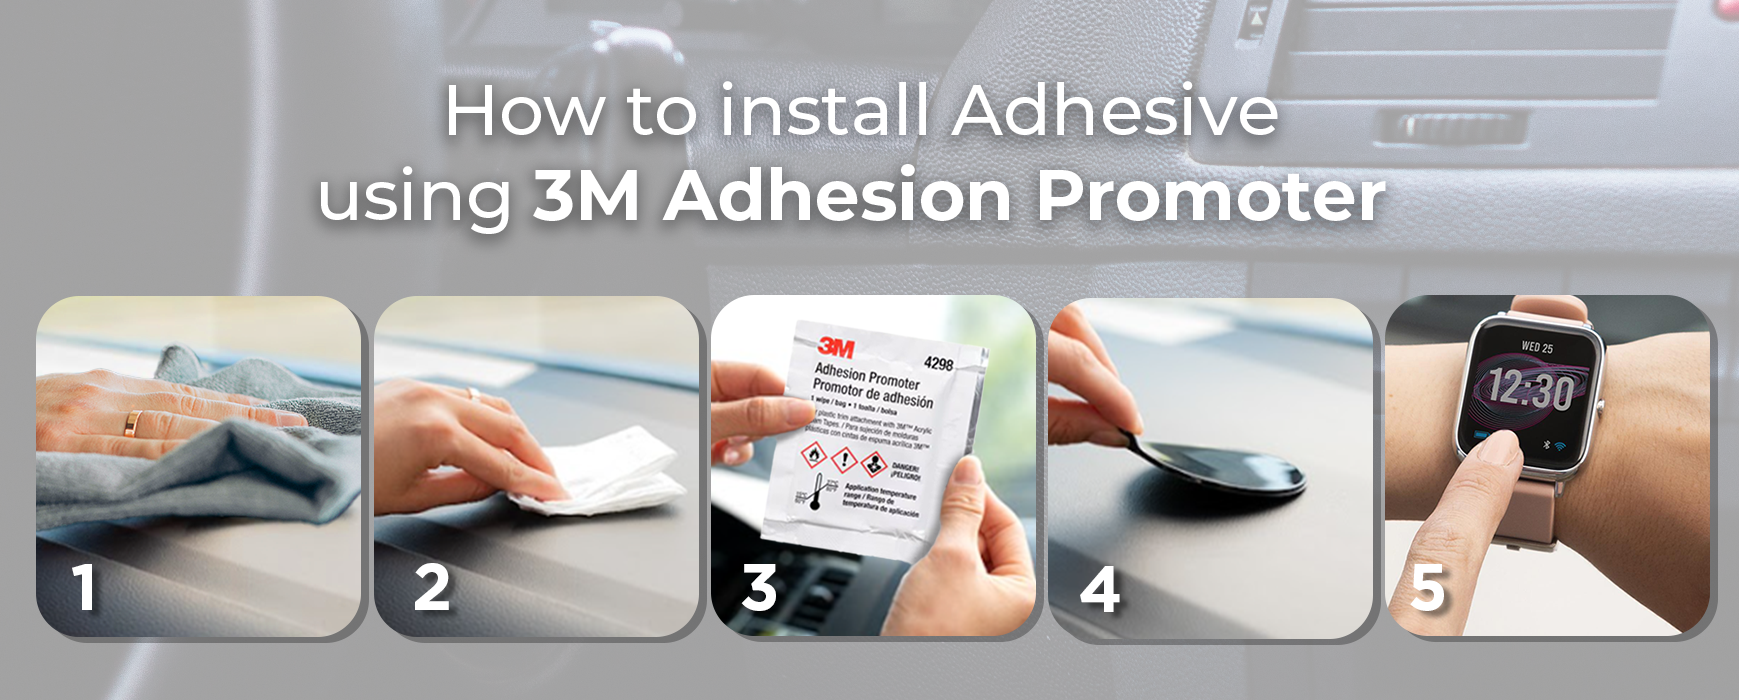
Mounting devices securely using adhesive mounts can greatly enhance convenience, whether in your car, home, or office. This step-by-step guide will walk you through installing a Mighty Mount suction cup mount or adhesive mount using 3M Adhesion Promoter, ensuring a strong and durable attachment.

Materials Needed:
- Mighty Mount suction cup or adhesive mount
- 3M Adhesion Promoter (compatible with suction cups and adhesive mounts)
- Dry cloth
- Alcohol pad or rubbing alcohol
- Clean towel or paper towels
- Optional: masking tape, car sunshield
Step 1: Prepare the Mounting Surface
Proper surface preparation is crucial for ensuring strong adhesion.
- Clean with Dry Cloth: Start by wiping the mounting surface with a dry cloth to remove any loose dust or particles.
- Clean with Alcohol: Use an alcohol pad or a cloth dampened with rubbing alcohol to thoroughly clean the area where the mount will be placed. This step removes oils, residues, and ensures a clean surface for optimal adhesion.
Step 2: Apply 3M Adhesion Promoter
The 3M Adhesion Promoter enhances the bond between the adhesive on the mount and the mounting surface.
- Apply Adhesion Promoter: Shake the 3M Adhesion Promoter well before use. Apply a thin, even coat over the cleaned surface where the mount will be attached. Use gentle pressure to ensure coverage without excess pooling.
- Let it Dry: Allow the adhesion promoter to dry for 30 to 90 seconds. The drying time may vary depending on temperature and humidity. Refer to the specific instructions on the product for the recommended drying time.
Step 3: Attach the Mounting Device
Now, you can attach the Mighty Mount suction cup or adhesive mount securely to the prepared surface.
- Position the Mount: Carefully place the mount in the desired location on the surface where you applied the adhesion promoter. Ensure it is aligned correctly before pressing down.
- Press Firmly: Apply firm pressure to the mount for at least 20 seconds. This helps ensure that the adhesive bonds effectively with the surface.
Step 4: Allow Proper Curing Time
To achieve maximum bond strength, it's essential to allow sufficient time for the adhesive to cure.
- Curing Time: Leave the adhesive mount undisturbed for at least 24 hours before placing any weight or load on it. This allows the adhesive to fully cure and bond securely to the surface.
Step 5: Adhesive Mount Care Do's and Don'ts

To maintain the effectiveness of the adhesive mount over time, follow these tips:
- Protect from Sun: Whenever possible, park your vehicle under shade to avoid excessive heat exposure which can weaken adhesive bonds.
- Use Sunshield: Use a car sunshield when parked under the sun to minimize temperature fluctuations and maintain adhesive stickiness.
- Keep Dust-Free: Adhesives are sensitive to dust. Keep the mounting area clean and free from dust to ensure optimal adhesion and longevity.
How To Clean Suction Cup for Next Use?

- Brush off first with soft brush
- Mix mild soap/glass cleaner with warm water
- Wipe suction cup with soapy water
- Rinse well with clean water
- Air dry completely.
Additional Tips:
- Surface Compatibility: Ensure the adhesion promoter and adhesive are compatible with both the mounting surface and the Mighty Mount product you are using.
- Environmental Conditions: Adhesive performance can vary with temperature and humidity. Install the mount in conditions recommended by the manufacturer.
- Safety: Follow all safety precautions provided with the adhesion promoter and adhesive products.
Shop Our Adhesive Base Mounts
By following these steps, you can effectively install a Mighty Mount suction cup or adhesive mount using an adhesion promoter, ensuring a strong and reliable attachment for your device. Always refer to specific product instructions for the best results and durability.


Share:
5 Reasons Why Dads Love Gym Phone Mounts: A Father's Day Gift Guide
Best iPhone 16 Accessories to Buy in 2024